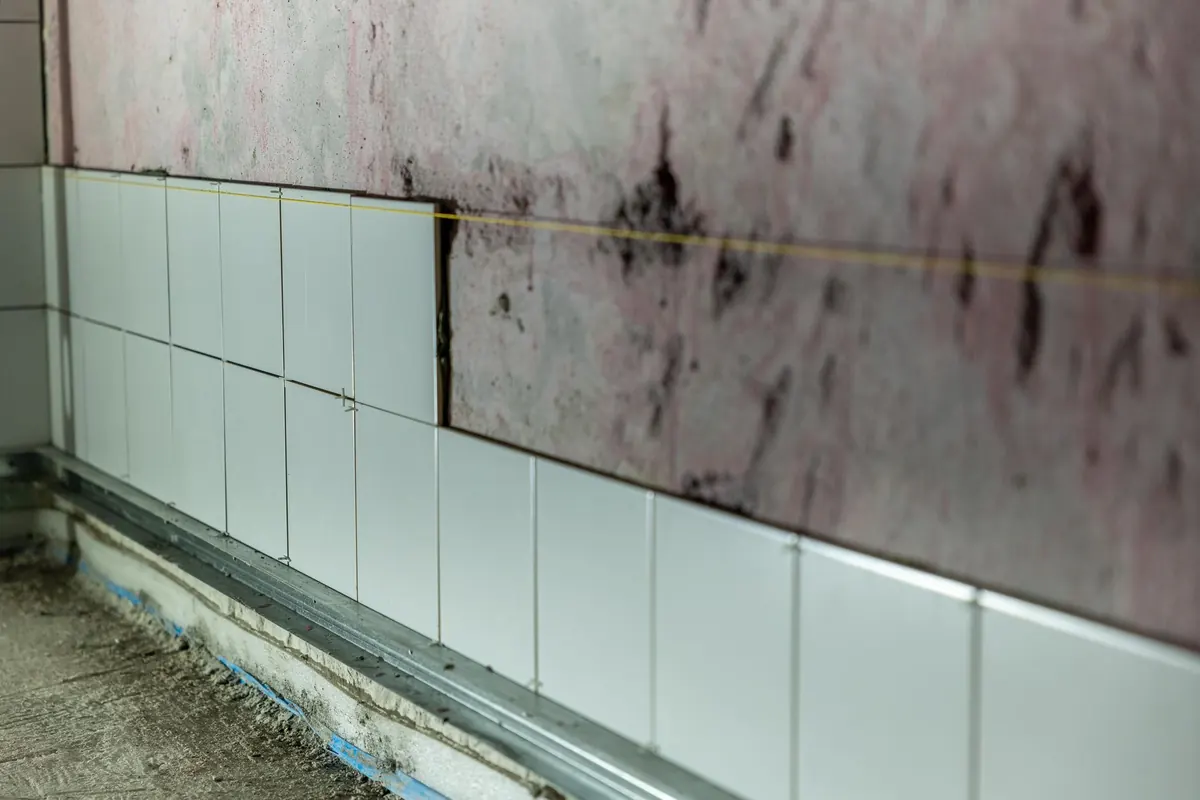
Slate and kitchens suit each other. The stone shrugs off hot pans, muddy boots and the occasional dropped mug, and it does not mind the odd splash. What it does not forgive is a rushed installation. Almost every cracked, lifting or permanently stained slate floor traces back to something that happened before the first tile went down, or to a detail that seemed too small to matter: a 5mm gap at the wall that got grouted shut, a sealer wiped on too thin. Get the following right and the floor will outlast the units standing on it.
No adhesive is strong enough to hold a slate floor over a base that moves, flexes or holds moisture. This is where most failures begin, and it is the part nobody sees once the job is finished.
Ceramic tiles have a little give in them. Natural stone does not, which is why the substrate beneath it has to be roughly twice as stiff. A common rule of thumb for timber floors is that deflection under load should be no more than about 1/720th of the span. In practice that usually means deeper joists, extra noggins between them, or an overlay of exterior-grade plywood or cement-based backer board, screwed down at close centres. Walk across the room with a full mug of tea. If the surface ripples, stop and stiffen the floor first.
Slate is rarely supplied perfectly flat and riven faces vary in thickness, so the substrate needs to be. Aim for a surface that is flat to within about 3mm across a 2m straight edge. Sweep and vacuum thoroughly: dust, old adhesive, cooking grease and traces of sealant all weaken the bond. On a concrete slab, take the moisture content seriously and seek professional advice if you are unsure, because a slab that is still drying will push trapped vapour up through the stone. New screeds can take weeks rather than days to be ready.
Loose boards should be re-screwed, then overlaid with a minimum 15mm exterior-grade plywood or a cement backer board, fixed with adhesive and screws. Do not use hardboard, chipboard or anything that swells. If the floor is over a heated room below, insulate before you board, or you will spend the winter warming the ceiling downstairs.
Kitchen slate wants a cement-based, flexible adhesive, usually rated S1 and S2 for timber substrates or where there is underfloor heating. Anything water-based and ready-mixed is the wrong product for a stone floor.
Slate is porous, and grout is a coloured, cementitious slurry. If the stone is unsealed when you grout, pigment and moisture will settle into the surface and around the riven edges, and a dark grout on pale slate can leave a permanent shadow.
Apply a penetrating impregnating sealer to a clean, dry floor before grouting. Test it first on a spare tile or an offcut, since some slates darken noticeably and some take two coats where others need three. Wipe off any excess before it dries to a film; a sealer left sitting on the surface will look patchy and feel tacky. Once the grout has cured and the floor is properly dry, seal again, working the product across the grout lines as well as the stone. A simple test: drip water on the floor. If it beads, you are protected. If it darkens the tile, it is time for another coat.
Slate is not calibrated to a fraction of a millimetre, and riven or tumbled edges are uneven by nature. Narrow 2mm joints will show every variation in size and will crack as the floor moves. A 3-5mm joint is a sensible minimum, and rustic slate often looks better with 6-10mm of grout framing it.
Use a sanded or wide-joint grout with a flexible additive, and choose the colour with care. Contrasting grout draws attention to any slight lippage or chipped corner, while a colour close to the stone forgives them. Do not over-wash the joints while cleaning up, as over-sponging pulls cement out and leaves weak, dusty grout. Clean the tile faces before the residue sets hard; on a riven surface, dried haze is miserable to remove.
Every floor moves, and a slate floor in a warm kitchen moves more than most. Leave a gap of 5-10mm at every wall, threshold and door frame, and around anything fixed through the floor. Skirting boards, plinths and a neat bead of flexible sealant will hide it. What you must not do is grout tight to the wall or bridge the gap with a rigid filler, because the first hot week of summer will find the weakest point and lift a tile.
Larger rooms, and any floor with underfloor heating, normally need intermediate movement joints as well. The spacing depends on your substrate and the products you are using, so follow the manufacturer's instructions rather than guessing. If there is heating in the floor, leave it switched off throughout the installation and for the period the adhesive maker specifies, then bring the temperature up gradually over several days rather than in one jump.
Sweep or vacuum regularly; grit is what dulls a slate floor and scratches the sealer. Clean with a pH-neutral stone cleaner and a damp mop, and avoid acidic products such as limescale removers, vinegar-based sprays and heavy bleach solutions, which can etch the stone and strip the sealer. Some slates contain mineral veins that react badly to acid, and you will not know until the surface goes dull and patchy.
Wipe up oil, wine and beetroot promptly, blotting rather than rubbing. Use felt pads under stools and chairs, and a mat at the garden door. Re-seal every year or two, or whenever the water test stops beading. For deep oil stains, a poultice can draw the mark out, but if the slab is badly marked, a stone restoration specialist is worth the call.
None of this is difficult, but it has to happen in sequence. Skipping a step to save an afternoon is exactly how floors end up cracked or blotchy.
Do that, and the biggest risk to your kitchen floor becomes the dog's claws rather than anything you did on installation day.
Photo: RyanMcGuire / Pixabay
A practical guide to preparing, priming and painting kitchen cabinets with eggshell or satin, including drying times...

A practical walkthrough of permissions, roof structure, stairs, insulation and hidden costs to sort before a UK loft...

A warm roof puts insulation above the structural deck, keeping timbers warm and condensation risk down. Here is how...

Inspiration for slate in your home.