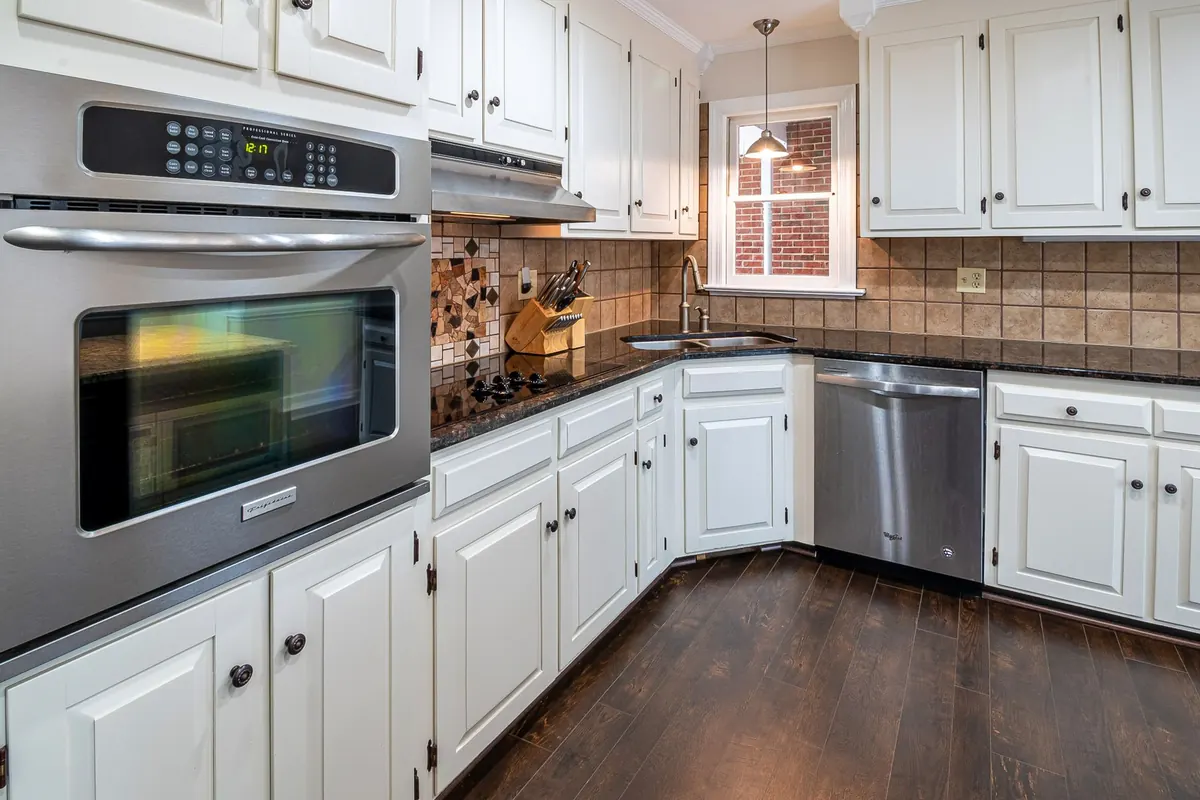
Kitchen cabinets take more punishment than anything else in the house. Steam, splattered oil, hot pan handles, the door that gets yanked open with wet hands while the kettle boils. That is why a rushed paint job starts looking tired within months, and why the difference between a finish that lasts five years and one that lasts five weeks comes down almost entirely to what you do before you open the tin.
The good news is that none of it is difficult. It is just methodical, and a little slower than you would like.
Paint grips to a clean, slightly dulled surface. It slides off grease, silicone polish and glossy factory finishes. Assume your cabinets are dirtier than they look, because kitchen grime is invisible until you start wiping and the cloth turns grey.
Give yourself a clear day for stripping down and cleaning alone, before any paint appears.
If your cabinets are melamine, laminate or factory-finished MDF, sanding alone will not do much. They need a bonding primer designed for glossy, non-porous surfaces.
Primer is not just a base coat. It blocks stains, seals porous edges and gives the topcoat a uniform surface to sit on.
One caution: if your home predates the 1960s and the cabinets have never been stripped, the old paint may contain lead. Do not sand it dry. Take proper advice before you start.
Both work in a kitchen. The right answer depends on how hard the cabinets work and how perfect the doors are.
Eggshell has a soft, low sheen that looks close to a factory finish and flatters older or slightly uneven doors. It wipes clean easily enough for normal use and is far more forgiving of brush marks than glossier alternatives. A water-based eggshell will stay true to its colour for years rather than yellowing in a dim kitchen.
Satin sits a step up in shine and a step up in toughness. It resists moisture and grease better and takes repeated wiping without dulling, which makes it a sensible choice for a busy family kitchen or cabinets beside the hob. The trade-off is honesty: satin reflects light, so dents, ripples and stray brush strokes show up more.
If you want a hard-wearing finish that is easy to live with, water-based satin is the safe middle ground. Avoid traditional solvent-based gloss on cabinets unless you actively want a high-shine look, and bear in mind that oil-based whites yellow over time, particularly in rooms that get little daylight.
Two or three thin coats always beat one thick one. Thick paint sags, dries slowly and stays soft underneath.
Use a four-inch foam roller for flat door panels and a good synthetic brush for frames, edges and any moulded detailing. Work in a set order: inside edges of the frame first, then the frame face, then the door faces.
Roll with the direction of the door, then lay off lightly with the roller in one continuous direction to flatten the stipple. Go easy around edges and corners, where paint pools and drips. If you spot a run, brush it out immediately rather than waiting for it to set.
Recoat times on the tin are usually accurate but they assume a warm, ventilated room. Aim for roughly 15 to 25°C with a window open and no draught directly on the doors. Cold, damp conditions slow drying and leave a finish that never quite hardens.
Water-based paints are typically touch dry in about an hour and ready for a second coat in two to four. Oil-based products often need overnight between coats. None of that is the same as cured: a painted surface continues to harden for days, sometimes weeks, so treat the first fortnight gently.
Leave doors off for at least 24 to 48 hours after the final coat, longer if you used a solvent-based paint or the weather is humid. When you do refit them, do it on your own rather than at the end of a long day, and adjust the hinges as you go.
Stick felt pads behind doors so they do not chip the frames when they close. Keep a small labelled jar of each colour for touch-ups, and deal with chips before they spread. Day to day, a soft cloth and mild soapy water is all the cabinets need; abrasive creams and bleach-based sprays will dull the surface and undo your work.
Do that, and a weekend of preparation will buy you a kitchen that looks properly painted rather than recently painted. Which is the whole point.
Photo: Curtis Adams / Pexels
A practical walkthrough of permissions, roof structure, stairs, insulation and hidden costs to sort before a UK loft...

A warm roof puts insulation above the structural deck, keeping timbers warm and condensation risk down. Here is how...
Slate-effect tiles are heavier and more textured than plain ceramic, so they need a different approach. Here's how...

Inspiration for slate in your home.
