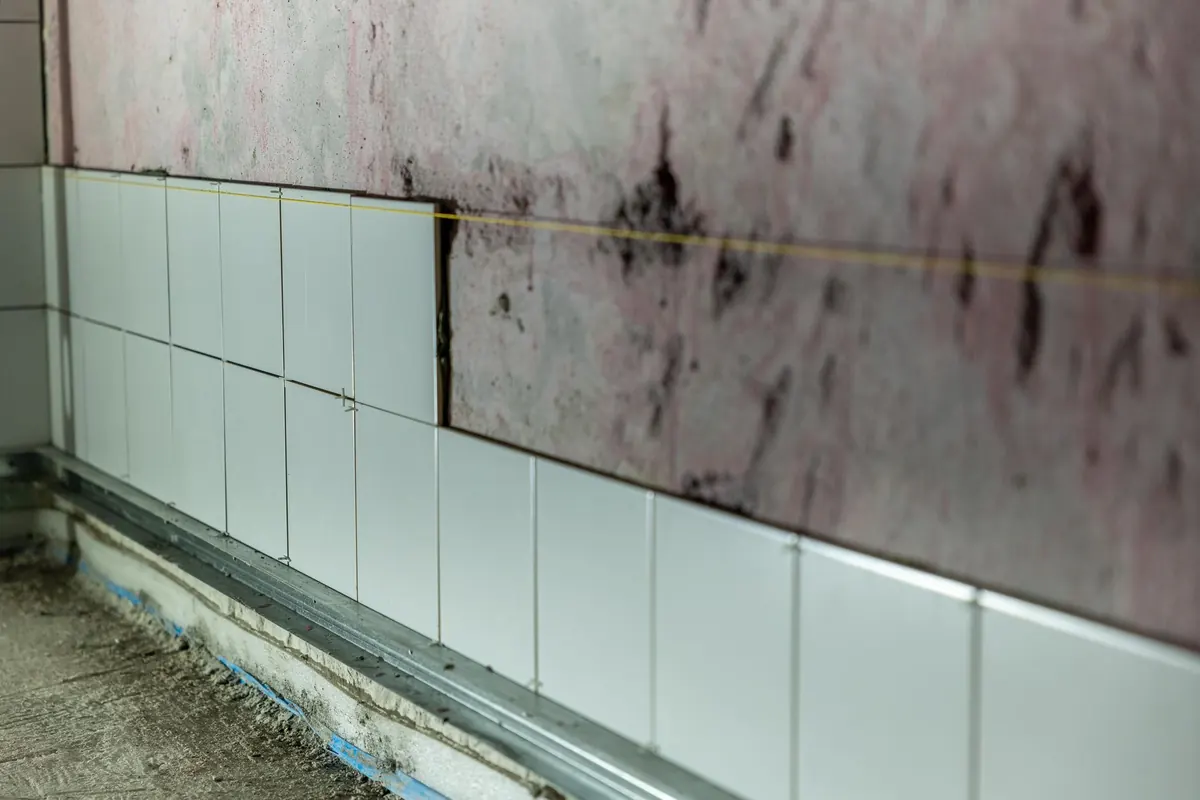
Slate-effect tiles give you the look of riven stone without the sealing, the flaking and the cost of the real thing. They are, though, a different beast to fit: heavier, thicker and deeply textured, which changes how you prepare a wall and how much adhesive you need behind each tile. A kitchen splashback is a forgiving place to learn. It is usually a strip of only 500–600mm, the bottom edge disappears into a bead of silicone, and any wobble around a socket ends up hidden behind the faceplate.
Start with the run: measure the length of wall you are tiling and multiply it by the height you want. Most splashbacks stop under the wall cupboards, but if you have no cupboards, something around 450–500mm above the worktop reads well. Add 10–15% for cuts and breakages — more if the tiles come in a mixed pack with lots of variation.
That variation is worth thinking about before you fix anything. Slate-effect tiles are often sold in packs where every tile differs in shade and veining. Open a few boxes and lay them out on the floor, spreading the strong, dark, dramatic ones between the quieter ones. Buy from the same batch where you can, and keep two spares.
Check whether you have porcelain or ceramic. Porcelain is harder and needs a diamond blade and a decent cement-based adhesive; ceramic is softer and more forgiving to cut.
Kitchen walls carry a film of cooking fat that adhesive will not grip. Wash the wall down with sugar soap or a degreaser, rinse, and let it dry. Scrape off anything flaky, fill dents, and sand glossy paint to give the adhesive a key. If you are tiling onto bare plaster or plasterboard, use a proprietary acrylic bonding primer rather than PVA — PVA can re-emulsify once it gets damp.
Run a straight edge along the wall. Slate-effect tiles are thick and don't bend, so a wall that bows by 5mm over a metre will show as a shadow along the top edge. On badly out-of-true walls, build the low spots out with adhesive as you go rather than trying to force the tiles flat.
Now decide where the tiles will sit. Find the centre of the hob or the window and drop a plumb line — a focal point is the natural place to start. Dry-lay a row on the worktop and look at where the cuts fall at each end. If you are heading for a 10mm sliver in a corner, shift your start by half a tile and try again.
Work upwards from the worktop in most cases. The bottom joint gets siliconed, so a small gap there is fine, while the top edge tucks under the cupboards. If the top edge is going to be exposed, it is worth fixing a batten at the correct height and starting with a full tile at the top instead.
Use a powdered cement-based adhesive mixed to the ratios on the bag. Ready-mixed tubs are intended for small, light ceramic tiles on flat, dry walls; they are not the right choice for thick, heavy slate-effect tiles, and they will not hold porcelain properly. Mix to a consistency that holds a notch when you drag the trowel through it, leave it to stand for five minutes, then mix again.
Back-butter every tile. The backs of slate-effect tiles have deep ribs and recesses, so combing adhesive onto the wall alone leaves voids behind the tile, which is how you get cracks and hollow-sounding spots. Press adhesive into those recesses, then comb the wall with a 6–8mm notched trowel and fix the tile with a firm press and a slight twist.
Work in small patches — roughly a square metre, three or four tiles at a time — so the adhesive never skins over. Set 2–3mm spacers as you go and check with a level every few tiles rather than at the end. Wipe any adhesive off the tile face straight away with a damp sponge; the riven surface holds it stubbornly once it dries.
Switch the circuit off at the consumer unit and prove it dead before you touch anything — plug in a lamp or use a socket tester. If wiring needs altering, or you are unsure, bring in a qualified electrician. Removing a faceplate is straightforward; changing a back box is not a DIY job.
Take the faceplate off and keep the screws. Measure from the tile edges to the socket opening on all four sides, then mark the rectangle onto masking tape stuck to the tile face. Tape is easier to draw on and won't stain the tile.
If the tiles stand proud of the back box once fitted, you may need socket spacers or longer screws, both available from electrical wholesalers. For end cuts and awkward shapes around extractor fans, cut from the back of the tile where you can — the face chips more easily than the biscuit.
Leave the adhesive to set for as long as the bag says, usually 24 hours. Pull the spacers, scrape out any lumps, then grout in small batches. Choose a grout suited to the joint width — around 2–3mm for most slate-effect tiles — and pick a charcoal or dark grey, which sits far more comfortably against the stone look than white.
Work the grout across the joints diagonally with a rubber float, then sponge off with clean water, rinsing the sponge often. When a haze forms on the surface, buff it off with a dry cloth.
Do not grout the joint where the tiles meet the worktop or the underside of the wall cupboards. Those are movement joints and need neutral-cure silicone, matched as closely as you can to the grout colour.
Porcelain won't absorb anything, but some ceramic slate-effect tiles with a matte, riven face benefit from an impregnating sealer, particularly behind the hob where grease and steam land. Check with the tile supplier and always test on a spare first.
Keep the area dry and ventilated for a day before you clean it properly, and leave the silicone alone for 24 hours. For day-to-day cleaning, warm water and a pH-neutral cleaner are plenty. Skip acidic limescale removers and abrasive cream cleaners, which dull the surface and wear away grout.
Behind the hob, wipe the tiles down weekly rather than waiting for a build-up. Check the silicone line along the worktop once a year — if it has gone black or lifted, cut it out and redo it, which takes twenty minutes and prevents water getting behind the units. And keep those spare tiles: if one ever cracks, a matching replacement from the same batch is worth having in the loft.
Finally, take the safety kit seriously. Cutting tile with an angle grinder throws grit, so wear eye protection, ear defenders and a dust mask, and run the tool from an RCD-protected supply.
Photo: Sergei Starostin / Pexels
A practical guide to preparing, priming and painting kitchen cabinets with eggshell or satin, including drying times...

A practical walkthrough of permissions, roof structure, stairs, insulation and hidden costs to sort before a UK loft...

A warm roof puts insulation above the structural deck, keeping timbers warm and condensation risk down. Here is how...

Inspiration for slate in your home.
