Victorian terraces are the backbone of British housing. Built roughly between 1837 and 1901, they range from grand bay-fronted villas to plain two-up-two-down rows beside the railway. What they share is proportion: high ceilings, deep skirting, tall windows and rooms that feel larger than their floor area suggests. They also share a century and a half of weather, wear and well-meaning alterations.
Renovating one is less about starting again than about understanding what you already have. Original features are usually worth keeping — not from nostalgia, but because they were designed to work with the building's fabric. Get the order of work right and the house will reward you.
Before the first skip arrives, find out what you're dealing with. Is the property listed? Is it in a conservation area, or covered by an Article 4 direction that removes some permitted development rights? These affect windows, front doors, roofs, render and extensions. A quick call to your local planning authority's conservation officer is free and can save you a great deal of trouble.
Then walk the building slowly, inside and out, and make notes on:
Photograph and label anything you take out, including fireplaces, tiles and mouldings. Strip-out takes an afternoon; reversing it takes a specialist and a waiting list.
Most original sashes can be saved. Worn cords are the usual culprit when a window drops or jams, and re-cording a box frame is a normal job for a competent joiner. While the sashes are out, deal with rotten sections of sill, re-putty loose panes and clear the paint out of the staff bead channel — painted-shut sashes are the main reason people assume they need replacing.
Draught-proofing is cheap and effective: brush or silicone seals in the staff bead, a slim bead where needed, and a decent sash lock to pull the meeting rails tight. Secondary glazing is a good compromise where you want thermal improvement but must keep the original frames.
Slim-profile double-glazed units set into new timber sashes can work in the right window and the right reveal, and they look far better than uPVC. But replacement almost always needs consent in a conservation area, and listed buildings require listed building consent. Check before you order, not after.
Plaster cornices and ceiling roses are the cheapest character you will ever own. A good plasterer can repair runs and patch sections, or cast a new length from an existing profile using a running mould. Resist the urge to remove them to "modernise" — a cornice hides the awkward junction between wall and ceiling, and rooms always look shorter without one.
Keep skirting, architraves and picture rails too. When stripping paint in a pre-1960s house, treat any old coatings as potentially lead-based and use safe working methods. On solid walls, favour lime plaster and breathable finishes over gypsum and vinyl silk, which trap moisture.
Every main room in a Victorian terrace had a fireplace, and plenty were ripped out between the 1960s and 1990s. Opening one up often reveals a bricked-in chamber with a rubble fill and a small vent — that vent matters. An unvented flue becomes a damp chimney, so keep airflow or cap and vent it properly.
If you want a working fire, cast iron inserts with tiled slips suit Victorian surrounds. Gas appliances must be installed and serviced by a Gas Safe registered engineer; solid fuel stoves and flues need a suitably lined chimney, correct ventilation and a registered installer. Removing a chimney breast is a structural job, frequently involves the Party Wall etc. Act 1996, and should never be a whim.
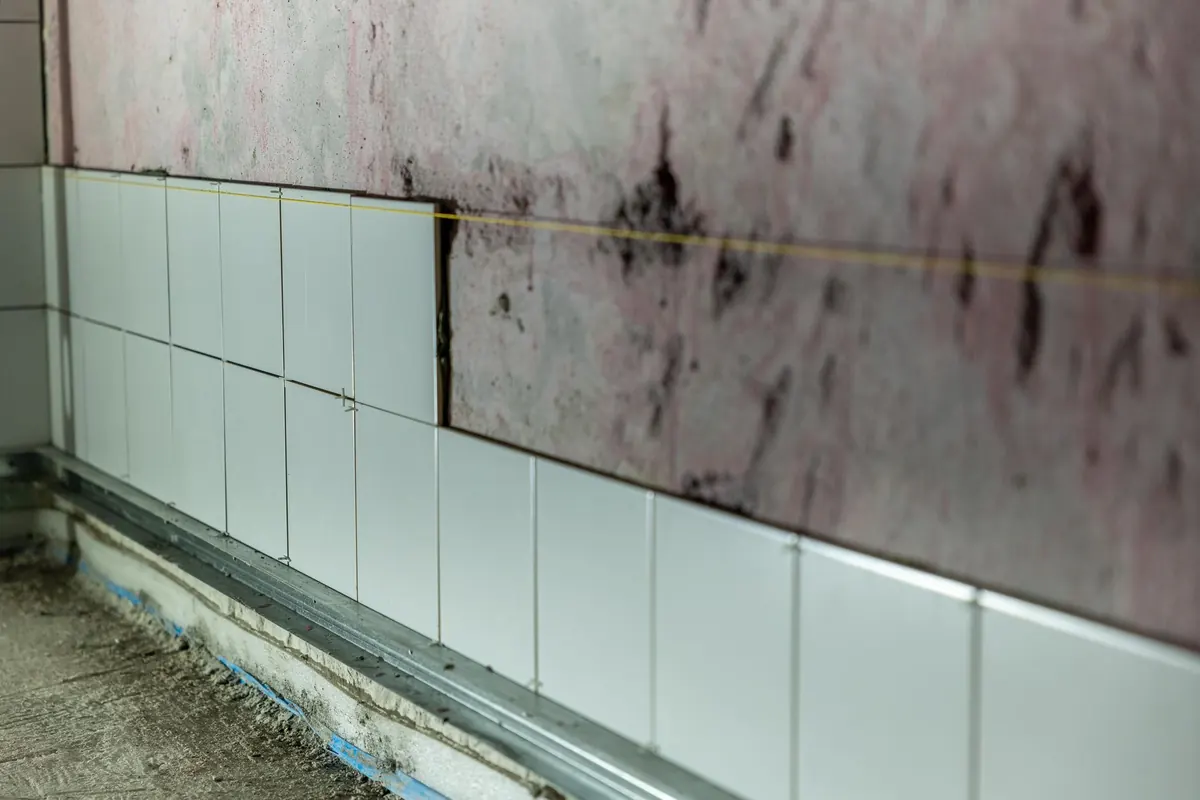
Damp is the single biggest worry in period homes, and the most misdiagnosed. In a Victorian terrace, the culprit is often one of a few predictable things: blocked airbricks, an external ground level raised above the slate damp course by paving or decking, a leaking gutter soaking the wall, condensation from poor ventilation, or cement render and impermeable paint trapping moisture inside a solid wall.
Work through it in this order:
Be cautious about a damp diagnosis from anyone selling the treatment. An independent surveyor with period-property experience is worth the fee. Chemical injections sometimes have their place, but they are frequently sold when the real fix is a leaking hopper or a raised patio. For anything involving structural movement, get professional advice before you spend.
Rewiring, heating and insulation should follow the fabric repairs, not precede them. Old rubber or lead-sheathed wiring usually means a full rewire; get an electrical installation condition report and use a registered electrician. Add sockets generously while the floors are up.
On insulation, loft work is straightforward, but don't block the eaves ventilation. Solid walls are trickier: cement render and impermeable internal insulation can push moisture problems deeper into the wall. Breathable options such as wood fibre or lime-based systems are usually a better fit. External wall insulation changes the building's appearance and often needs planning consent in a conservation area.
Keep water out first, then make the structure and services sound, then repair the fabric, and decorate last.
Live in the house for a full year before making irreversible decisions if you can — Victorian terraces have their own draughts, damp patches and quirks, and a winter will tell you more than any survey. Keep photographs of everything you uncover behind the walls. Future owners, and future surveyors, will thank you.
Photo: AXP Photography / Pexels
A practical guide to preparing, priming and painting kitchen cabinets with eggshell or satin, including drying times...
A practical walkthrough of permissions, roof structure, stairs, insulation and hidden costs to sort before a UK loft...

A warm roof puts insulation above the structural deck, keeping timbers warm and condensation risk down. Here is how...

Inspiration for slate in your home.